There is a lot of work and responsibility involved in performing a do it yourself interior painting project. Considering the factors involved, having the knowledge under your wing is half the battle. If you want crisp edges, smooth surfaces, and excellent coverage, knowing what to do and what to avoid can help you achieve your ultimate goal of having the perfectly painted wall. With that in mind, we at All Painting and Restoration would like to relate the dos and don’ts when it comes to getting your home’s interior painted like a pro.
Painting Dos; Preparation, Work Station, Paint Color & More
1) Paint prep work. The prep work can really expedite the process and make cleanup easier. Start with the walls and shelves by removing art work and nick-knacks. Walls need to be completely bare. Relocate as much of the furniture as you can out of the room or push it into the center of room as well as properly covered. Wipe down the walls and ceilings to free them from layers of dust and spots. Cover the floors with drop cloths and/or plastic sheets and tape off the edges and moldings. Remove all of the switch plates, outlet covers, doorknobs, curtain hardware, and so on; to keep track of them store together in a freezer bag.
2) Create a work station. Gather up all equipment, tools, supplies, and products you plan on using for your project and keep set up of a painting station with plastic underneath. Put forth your best efforts to use the area as much as possible. Paint, trays, brushes, rollers, extensions, painter’s tape, ladders, painting stir sticks, rags, paint thinner, paint can opener, screwdrivers, hammers, and other favorite tools you prefer using. There is no such thing as being over-prepared.
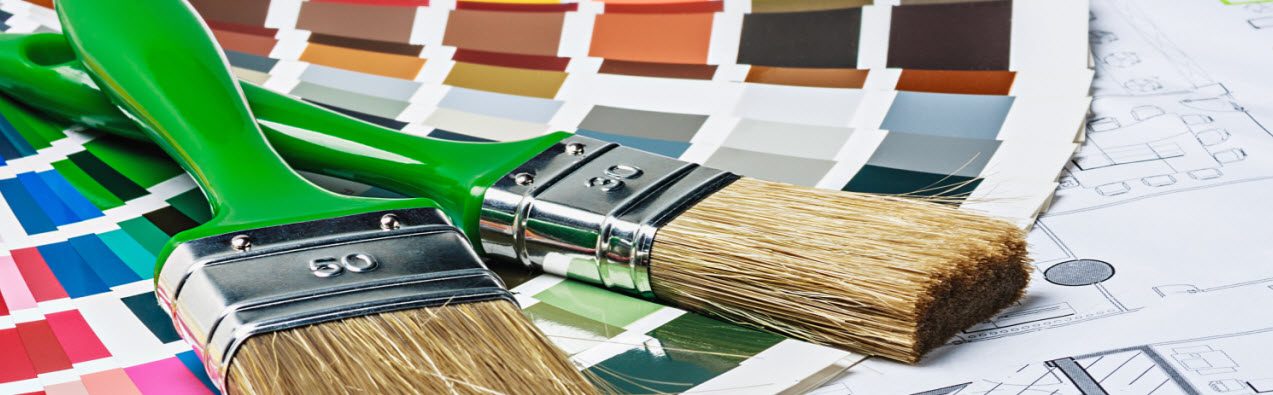
3) Know your paint color before you commit. You can purchase small sizes of paints. Simply paint a foam board and hold it up to the wall to make sure you are satisfied, than buy the appropriate quantity.
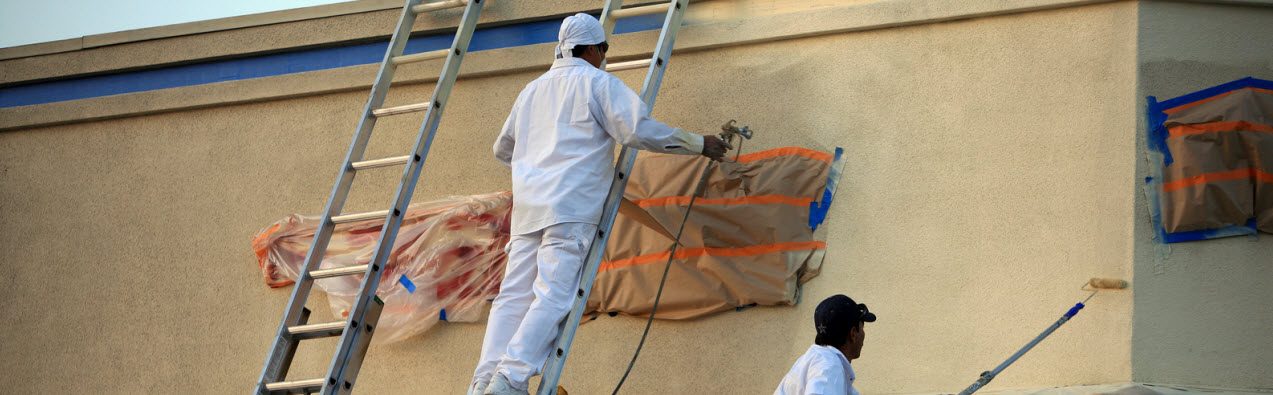
4) Wear your rags when painting. Invest in disposable coveralls or wear clothes you don’t care get ruined by paint.
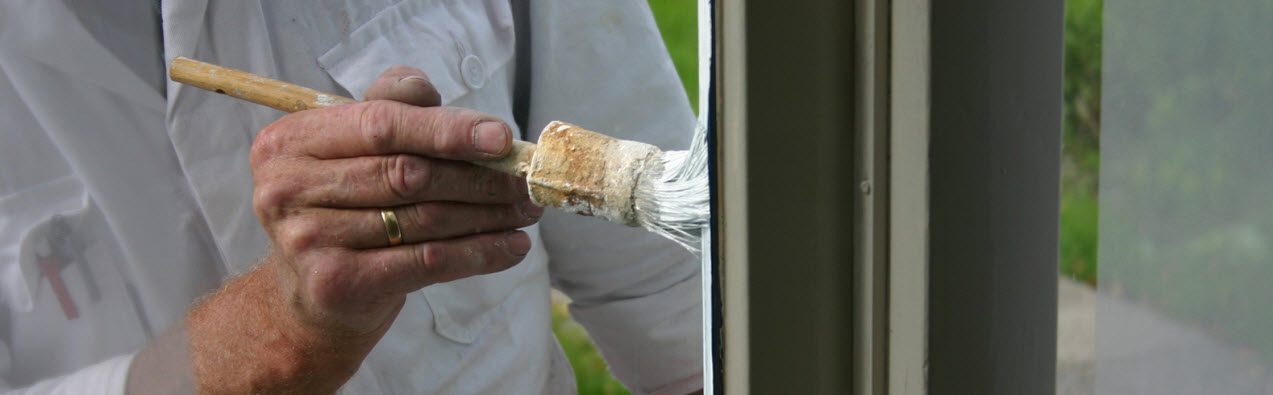
5) Understand painting technique. Deciding to get creative is always encouraged, but don’t jump into anything blindly. Take classes at home improvement stores and watch the instructional videos beforehand. Knowing how to do the technique correctly can ensure optimal results.
6) Opt for quality paint products. Invest in a high quality painting trays and line it with disposable liners, painting brushes and rollers, as well as a premium quality paint to tackle your project. Spending a little more of necessary is well worth the investment to ensure superior workmanship.
7) Have extra paint supplies handy. Keep extra paint and inexpensive disposable foam or painter’s brushes on hand for touch-ups and quick repairs.
Painting Don’ts; Don’t Neglect Paint Brushes & Rollers & More
1) Don’t paint over wallpaper. If you are painting where wallpaper once surfaced, be sure to remove as much wallpaper as possible. If the wallpaper is stubborn and you have tried a few methods, stripping services available, just be sure to sand away any frayed edges and don’t neglect the prime. 2) Don’t paint out of order it will cause chaos. Begin with the ceiling, walls, door, floor boards, and floor if you are painting the entire room. Doing otherwise can contribute to a confusing mess.
3) Don’t enclose the room. Don’t shut the doors and keep the windows closed. Good ventilation can minimize the concentrated fumes and allow proper breathing.
4) Don’t neglect your brushes and rollers if you plan to re-use them again. Clean off any brushes you plan on reusing, even if it is just for a break to keep them performing well.
5) Don’t dispose of your paint unsafely. If you decide on discarding your paint, ensure proper disposal.
6) Don’t rush your painting project. Allow yourself plenty of time for this project, expect it to take the whole day to avoid rush jobs. Your paint job will look more proficient and crisp by taking your time and working at a slow and steady pace.
7) Don’t attempt to replace the paint lid until the rim has been wiped cleaned. Be sure to wipe the rim down with a damp rag and hammer down the lid tightly.
8) Don’t put furniture and artwork back too early. Allow a minimum of 24 hours for walls to dry before putting the furniture back and your hardware installed, and your art work re-hung; permit 30 days for curing before wiping or cleaning walls.
Interior Painting & More in Show Low, Pinetop-Lakeside, Gilbert, Fountain Hills, Greer, Springville, Eagar, McNary, Alpine, Heber/Overgaard, Payson, Snowflake/Taylor & White Mountains Area of Arizona
With so much to do in a high paced lifestyle, getting your walls painted can be difficult to do on your own. Instead of stressing over time, expense, and storage, contact All Painting and Restoration and let our team of experts do the interior painting project for you!